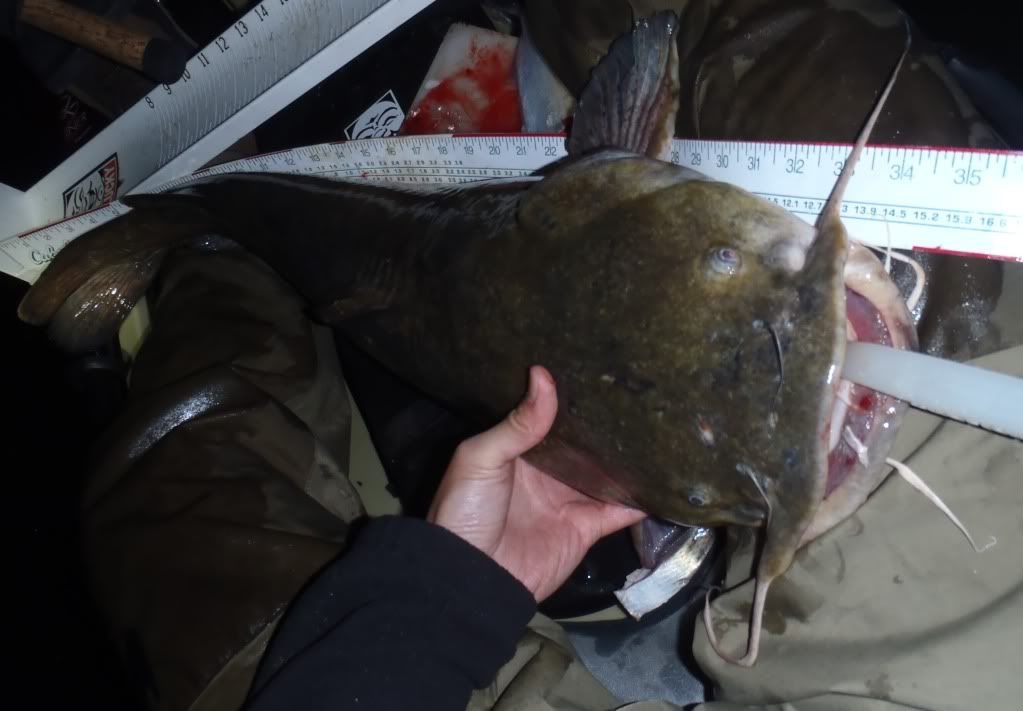
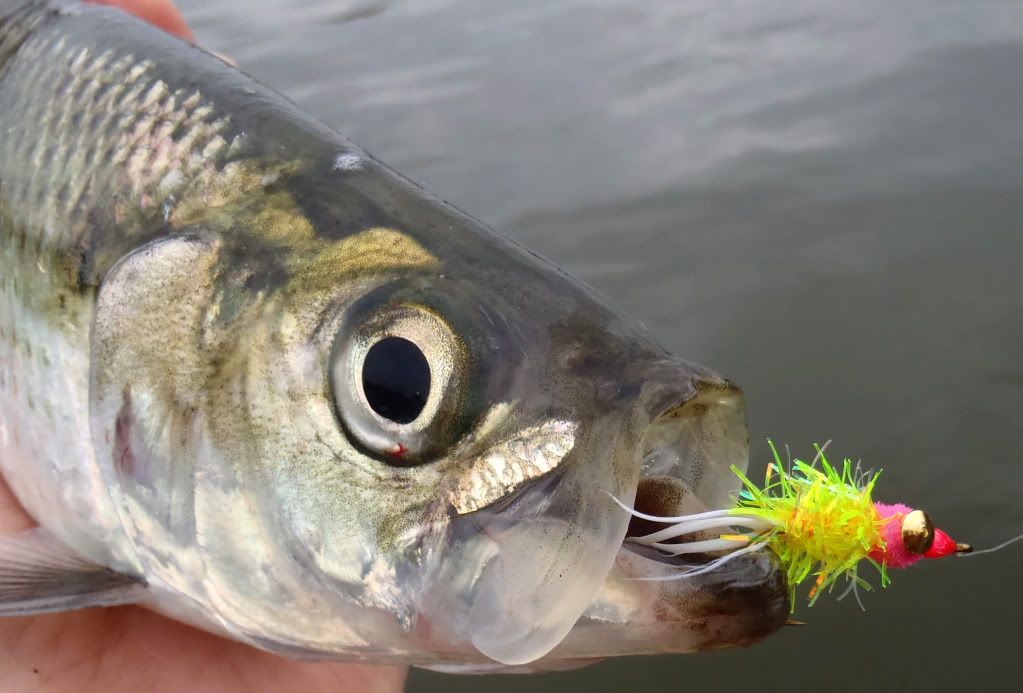
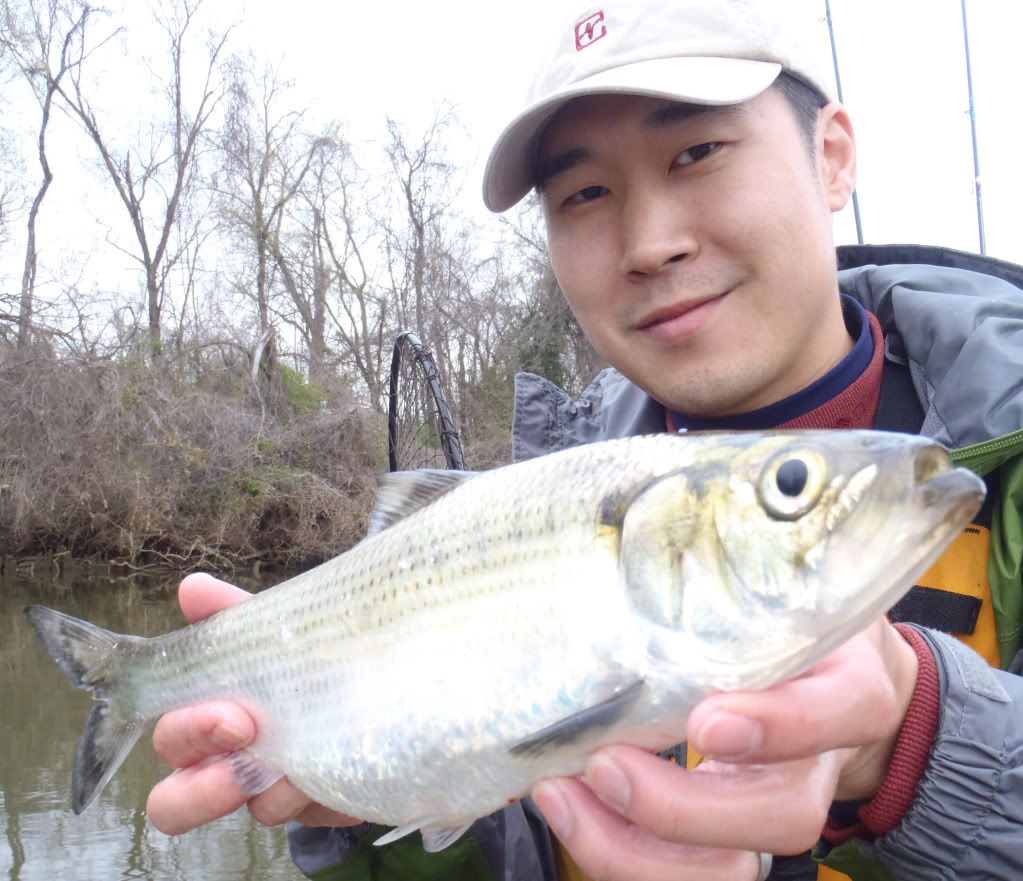
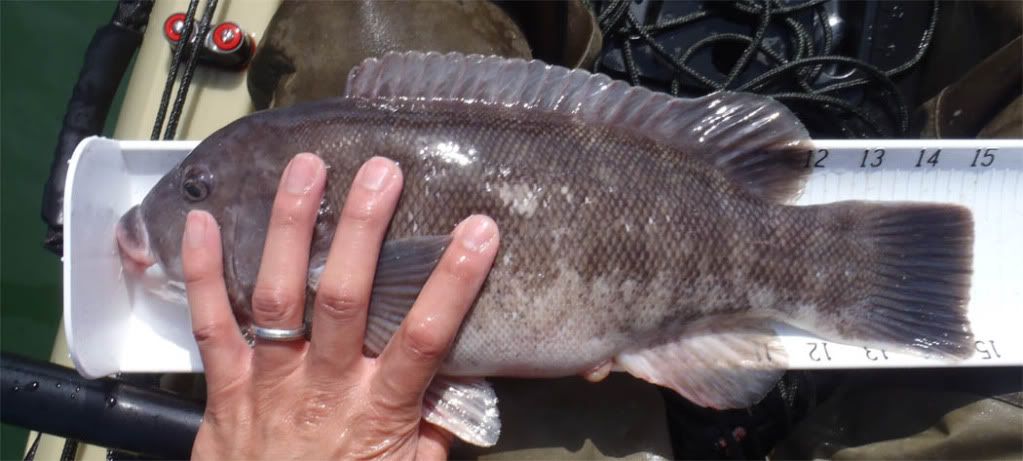
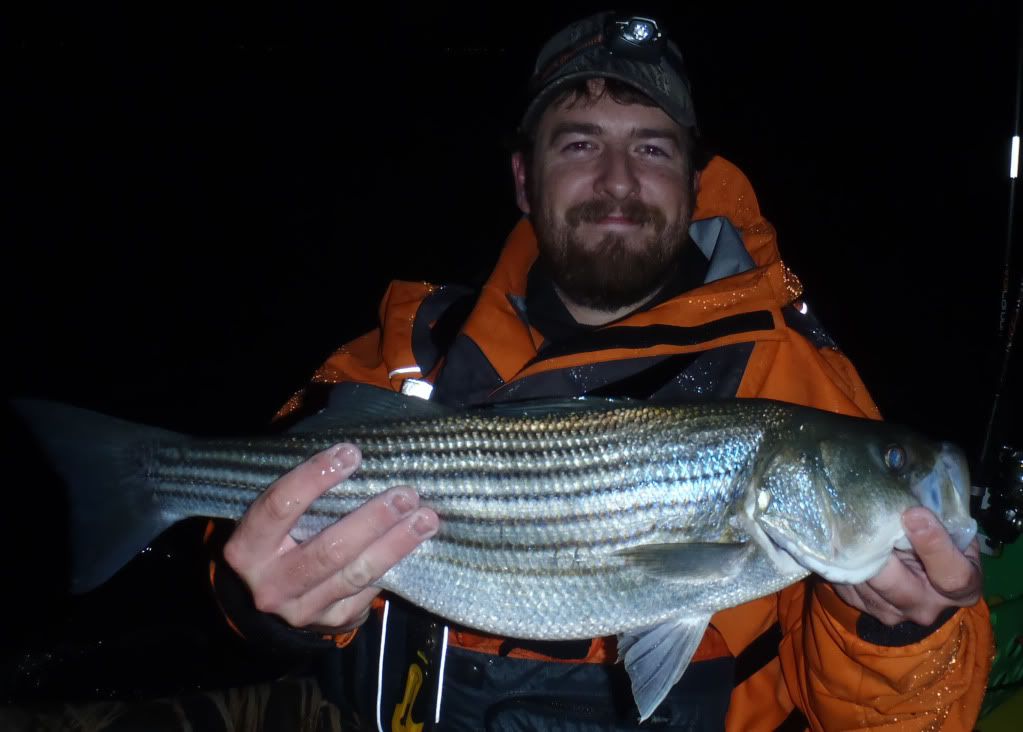
Since I couldn't get to the salt, I stayed in Richmond and played with the shad. The action is getting better and in a week or two it'll be hot (and the boat traffic will be chaotic). I kept a few and chunked them up for the kitties. Just before I packed it in for the night I was delighted to find this guy munching on the end of my line...
Tuesday, March 29, 2011
Monday, March 28, 2011
The Versatile Garden Sprayer - "Gear" Review

If you fish from a kayak, then your gear is going to get wet. It's just the way it is.
The mere fact that we are just inches above the water makes it near impossible for our gear not to get wet. Whether it's simply the drip from your paddle, to your hands, on to your reel, or from the splash and/or handling of a fish, to even dunking your reel by accident.... it is inevitable. And if you fish the salt, like I do, it is of the utmost importance that you rinse your gear promptly after you get off the water. Through the years I have ruined more equipment than I care to admit by failing to do just that. It could have been just laziness or simply just fatigue from paddling/fishing all day, regardless it was getting expensive. As I accumulated nicer equipment, I realized that no matter how awesome the rods and reels were, if I didn't maintain them, they would turn to crap just like my old stuff.
Upon accepting this simple nature of the game I kept about a dozen used water bottles in my car filled with tap water so I can pour it on my gear while packing up the car at the end of a trip. I didn't want to wait until I got home because sometimes it would take quite a while before I got back or I might not be headed straight home. After using the bottles for most of last year, I got tired of empty ones rattling around in my car, not to mention having to refill them all constantly. So when the light bulb came on I was like "Duh, why didn't I think of this sooner?"
I've been using a garden sprayer for several months now and it's getting the job done well. I found a small one gallon sprayer at the hardware store for around $10. I don't have to fill it up as often since I'm able to focus the spray on exactly where I want instead of dumping water all over. Also, it doesn't take up too much room in my little hatchback. I don't even take it out unless I have to fill it up. It stays bungie tied inside and all I have to do is pump a few times for pressurized fresh water. The adjustable nozzle is great for my rods, reels, radio, various tools... anything sensitive to rust or corrosion. It even comes in handy to wash off sand on your shoes, feet, hands, sunglasses, whatever. I will still take apart, clean, oil and lube my reels once or twice a year, but in the mean time my garden sprayer will help.

Saturday, March 26, 2011
There's Magic in the Air
The dogwoods are blooming, the water temps are rising, the fresh grass is of a color that makes my eyes happy... there's magic in the air.
The "poor man's tarpon" have arrived in my neck of the woods and the excitement in the local anglers is evident. The annual shad run is really quite amazing and I look forward to it every year. It is a mere 5 minute drive from my yard to where the James River bends it's way through downtown Richmond. So when I was given a few hours to do what I want to do, the choice was simple. I dusted off the flyrod, loaded the yak and got on the water. I got to one of my favorite spots and quickly hooked up to a nice hickory shad. They fight well for a relatively small fish. Not giving up easily, they pull fly line from my fingers, making it difficult not to smile.
But that's not the best part.
Next, thing you know, they fly out of the water, violently shaking their heads, just like mini-tarpon.
Not just once, but some jump several times... all shiny, glimmering, beautiful....
like I said....
there's magic in the air.
Monday, March 21, 2011
Kiss the Tog
After last week's recon mission and failure to capture the mighty Tog, it became imperative that I make another assault. With the need for tog-pullage now at code red, I was granted permission by my superior (the Mrs.) to search and redeem myself. Operation "Kiss the Tog" was a go. I transported my vessel to Virginia Beach from my home base in Richmond late Saturday afternoon and upon arrival at the local intelligence center and supply depot, Oceans East 2, I stocked up on a deadly arsenal of fiddlers & bluecrabs in preparation for my strike in the morning. I was also able to acquire valuable reconnaissance from a few highly decorated officers. Afterwards I was briefed at a POL meeting about future missions and subsequently invited to participate in a side raid to the infamous Hot Ditch. The time was 2030, and with launch time for Operation Kiss the Tog being 0700 I had time to kill. I accepted the invitation with hopes of capturing the ever elusive speckled trout. Dan Smullen and I launched and met up with speckled trout guru, Tim Morris. With "Specks" as his moniker, he proved his namesake having already captured a 23.75" trout before we even got there. However, the action had slowed significantly and by 0200 I had only one trout to show.

Dan had one at 19" and Specks got a 32" Striper surprise.
I was awakened at 0600 by the howling of the wind and violent swinging of the trees. I urgently checked the forecast and the previous predictions of 8-12kts turned into 20kts with gusts to 25kts. DAMN YOU NOAA! I retreated back to Ocean's East to vent my frustrations and hopefully devise another plan of attack. Kiptopeke was suggested since the concrete ships are known to hold small togs, however, while continuously checking the weather, I noticed the forecast called for diminishing winds later in the morning and afternoon. By 0930 the 20kts came down to 14kts and I decided it was time. At 1030 I launched my kayak and accepted the 3 mile punishment I was about to endure for that chance to fight the togs.

It took me almost and hour and half, but I got there in good spirits, optimistic and focused on the mission. With the incoming tide almost done, I deployed my blue crab on a dropper loop with 4oz of lead and felt it infiltrate the rocky hold out of the togs. It took a little while to find the right place, but once I did, I felt that quick tap, followed by another tap, and I jolted my rod up.... but my rig was already disarmed by the skilled blackfish. It took me 5 or 6 times of getting picked off before I was able to hook one up. And as soon as I did, I was grinning ear to ear. It fought hard. Hard enough for me to think it was going to be bigger than 15".
Over the next several hours I did battle with about a dozen strong togs with the biggest going 20". That fight from the 20"er is what I came for. All that traveling, prepping, paddling in the wind was worth it to fight that fish.
Justin Mayer come out to join in but sadly, the bite was just about gone by the time we met up. Plus, the outgoing current was extremely fast and without the proper anchor system, Justin had a hard time staying in the eddies behind the pilings. Sorry buddy, I'm sure you'll get on 'em next time.
We got off the water around 1930, grabbed a bite to eat and rendezvoused with Ric Burnley at the HRBT for a night raid on the light line stripers. The incoming current was just as insane as the outgoing earlier and made for very tough striper hunting conditions. After a few more hours of punishing myself and not hooking up with any, I decided to leave the stripers for another day and be happy with the successful tog trip. Tired, exhausted..... happy.
Monday, March 14, 2011
Tog recon and stripers at the HRBT
Kevin, Justin, Patrick Martin and I went looking for tautog on Sunday. After a struggle finding bait, we got on the flat calm water and tried some new spots. I found some promising rocky areas but none of them produced the bulldog fight I was hoping for. Matter of fact none of us did. After a long day, Justin and I met up with Seth Goodwich and Miles Wong at the HRBT to look for the light line stripers. The wind picked up pretty badly but we found several rockfish before it got too bad.
Seth with a nice lightline schoolie.
Rigging an Ocean Kayak Trident 13
Much to my surprise, I have recently received several inquiries about how I like the Ocean Kayak Trident 13 and more than a few emails about how I was going to rig my new kayak. I wanted to take a moment to express my gratitude all my readers and for those that had kind words to say about my posts either through replies, emails or in person, I genuinely appreciate it. Thank you.
The new kayak is different, but good. I like the openness of the Redfish12 cockpit, but the storage options on the Trident are much better. The OK Trident is definitely faster. But harder to turn. There are pros and cons about every kayak. I'll leave it at that for now.
As far as rigging a kayak goes, I think it's a very personal thing. There are some people who are minimalists and do very little to their kayaks and there are some people who can't wait to drill another hole in their plastic. For me going from one style of kayak to a very different style took some getting used to. Over the years, I created a system of storing things in my Redfish and I didn't even have to look behind me to know where certain things were going to be. You may have different preferences so take this as just my two cents. I think some of the things I'm about to go over will evolve in time, too. But for now this is what I did.
First, I knew that the Trident was a wetter ride than the Redfish so I wanted to raise my crate. I used these things I got from work. They're the end pieces from when we get shipments of big rolls of paper. You can probably cut pieces of pvc pipe, drill holes and zip tie them to the bottom of your crate. I also put a tray in the bottom of my crate so small things won't drop through the big holes in the crate. I also drilled small holes in the tray so if I took some waves the water would drain out. Lifting the crate off the kayak also leaves room to store things under the crate, like clams or crabs or other things you don't mind getting wet.
I also put two flush mount Scotty bases back next to the crate. I can put my VisiCarbon light pole in one if I don't want to take a space up in my rod holder. And of course, I can put a Scotty rod holder in one, too (ie: flyrod holder). In addition to that, if I want to film something I can put my camera-mount-on-a-pole in the rod holder as well. I made sure to put plenty of Goop around the drilled holes before I riveted these Scotty flush mount bases in. Also, make sure to get the flush mounts that are sealed at the bottom so it's not a big hole for water to get in.
As far as rod holders in the front, the rod pod has 7 different spots I can put a Scotty in so I'm covered for now.
Next came the anchor trolley. With tips from someone very familiar with Ocean Kayaks, this installation was fairly simple. I put my deck loops close to the ends of the kayak and found small stainless steel carabiners to take the place of a pulley. Since I have a rudder I split the anchor trolley system in to two parts; front anchoring on my port side and rear anchoring on my starboard side. I made sure to put the end points in a place to make it easy to slide the rope back and forth and not have to reach too far forward or back. I also put little hooks to keep the rope out of the way when not in use. I installed cam cleats to hold the anchor rope. I had clam cleats on my other yak, but sometimes the rope would slip out. I was told by a reliable source that cam cleats were the way to go. They held the rope well, but also easy to take out too.

Also, I found big aluminum carabiners for sending the anchor line to the bow or stern. I wanted a bigger one that didn't have the sharp edges that snag the anchor rope; especially while putting the rope in and out of the carabiner.
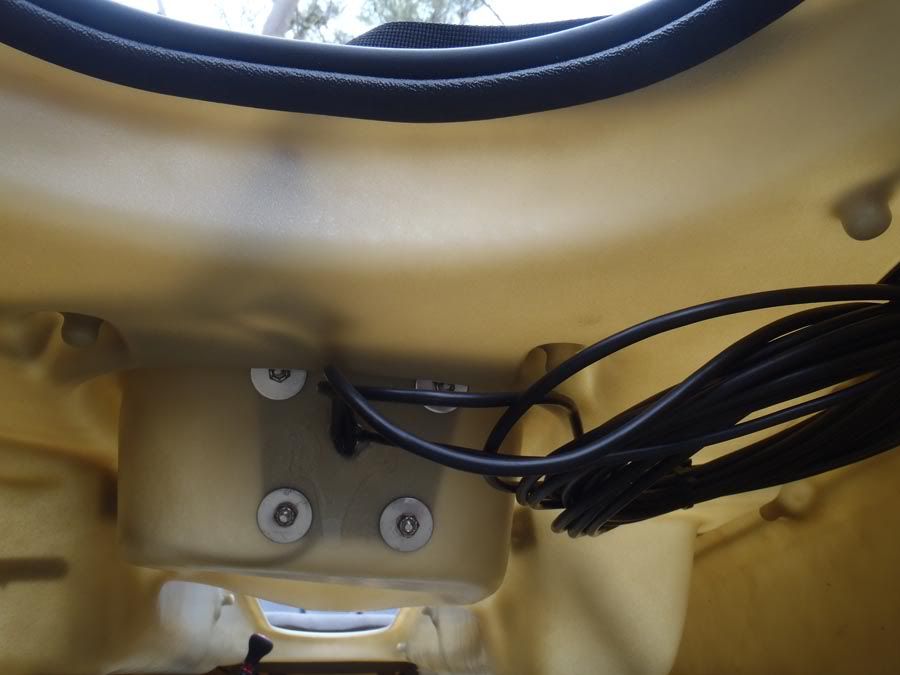
Next I worked on a depth finder. I want to mention that depth finders are obviously not essential, especially if you already know the area well. But I do like them for exploring new areas and sometimes checking water temps. I didn't get a really fancy one with dual sonar, gps, color this and that. Don't get me wrong, those are all great things to have and I'm sure they will come in handy. But I just wanted one that would tell me where the drop offs are. Simple and not too pricey. Since the sonar shield on the Trident 13 is a little past the foot wells, I also wanted one that I can still read well. After much deliberation, I went with the Humminbird 560. Like I said, nothing fancy, but still big enough to read from a distance. It came with the normal transducer that most people will mount to the inside of their hull, but I wanted to take advantage of the Trident's transducer compatible scupper feature. So I called up Humminbird and they gave me a return number, asked me to ship them the transducer that came with the unit and in return they would send me the right one for free. So I paid for shipping, sent it off, and 8 days later I got the new Plastic Thru Hull Transducer. I passed it though the scupper, bolted it down, drilled a hole on the back wall of the sonar space just big enough to send the wires through, and installed the unit.
I used zip tie mounts to keep the wires where I want them. Stainless steel bolts, rubber backed stainless steel washers, and lock nuts were implemented in securing the main unit. I then sealed the hole from the inside with copious amounts of Goop.
Next I went looking for a battery box. While browsing through Walmart I came across the food storage section and found Sterilite air tight/water tight containers that would fit my battery just right. Only thing is, it was only available in a big set with a bunch of other sizes. But I figured for $19.97 (compared to $30 for one OtterBox) I could use the other ones for Gulp! containers. Anyone who has had a leaky Gulp container knows, the words stinky and foul just don't cut it; especially in the heat of summer, in a small hatch back like I drive. Barf. Also, the containers work great for dry storage (ie: extra batteries, wallet, keys, phone, etc.). And for me it was time to replace the old containers in the kitchen that I got with sandwich meat. Anyway, I digress, back to the battery box... I drilled a hole, passed the wire, sealed it with Goop, wired a fuse, hooked up the female wire attachments, put the top on, slid it in the Trident's suspending battery bag and shizam, there you have it.
The new kayak is different, but good. I like the openness of the Redfish12 cockpit, but the storage options on the Trident are much better. The OK Trident is definitely faster. But harder to turn. There are pros and cons about every kayak. I'll leave it at that for now.
As far as rigging a kayak goes, I think it's a very personal thing. There are some people who are minimalists and do very little to their kayaks and there are some people who can't wait to drill another hole in their plastic. For me going from one style of kayak to a very different style took some getting used to. Over the years, I created a system of storing things in my Redfish and I didn't even have to look behind me to know where certain things were going to be. You may have different preferences so take this as just my two cents. I think some of the things I'm about to go over will evolve in time, too. But for now this is what I did.
First, I knew that the Trident was a wetter ride than the Redfish so I wanted to raise my crate. I used these things I got from work. They're the end pieces from when we get shipments of big rolls of paper. You can probably cut pieces of pvc pipe, drill holes and zip tie them to the bottom of your crate. I also put a tray in the bottom of my crate so small things won't drop through the big holes in the crate. I also drilled small holes in the tray so if I took some waves the water would drain out. Lifting the crate off the kayak also leaves room to store things under the crate, like clams or crabs or other things you don't mind getting wet.
I also put two flush mount Scotty bases back next to the crate. I can put my VisiCarbon light pole in one if I don't want to take a space up in my rod holder. And of course, I can put a Scotty rod holder in one, too (ie: flyrod holder). In addition to that, if I want to film something I can put my camera-mount-on-a-pole in the rod holder as well. I made sure to put plenty of Goop around the drilled holes before I riveted these Scotty flush mount bases in. Also, make sure to get the flush mounts that are sealed at the bottom so it's not a big hole for water to get in.
As far as rod holders in the front, the rod pod has 7 different spots I can put a Scotty in so I'm covered for now.
Next came the anchor trolley. With tips from someone very familiar with Ocean Kayaks, this installation was fairly simple. I put my deck loops close to the ends of the kayak and found small stainless steel carabiners to take the place of a pulley. Since I have a rudder I split the anchor trolley system in to two parts; front anchoring on my port side and rear anchoring on my starboard side. I made sure to put the end points in a place to make it easy to slide the rope back and forth and not have to reach too far forward or back. I also put little hooks to keep the rope out of the way when not in use. I installed cam cleats to hold the anchor rope. I had clam cleats on my other yak, but sometimes the rope would slip out. I was told by a reliable source that cam cleats were the way to go. They held the rope well, but also easy to take out too.

Also, I found big aluminum carabiners for sending the anchor line to the bow or stern. I wanted a bigger one that didn't have the sharp edges that snag the anchor rope; especially while putting the rope in and out of the carabiner.
Pretty sweet.
Next I worked on a depth finder. I want to mention that depth finders are obviously not essential, especially if you already know the area well. But I do like them for exploring new areas and sometimes checking water temps. I didn't get a really fancy one with dual sonar, gps, color this and that. Don't get me wrong, those are all great things to have and I'm sure they will come in handy. But I just wanted one that would tell me where the drop offs are. Simple and not too pricey. Since the sonar shield on the Trident 13 is a little past the foot wells, I also wanted one that I can still read well. After much deliberation, I went with the Humminbird 560. Like I said, nothing fancy, but still big enough to read from a distance. It came with the normal transducer that most people will mount to the inside of their hull, but I wanted to take advantage of the Trident's transducer compatible scupper feature. So I called up Humminbird and they gave me a return number, asked me to ship them the transducer that came with the unit and in return they would send me the right one for free. So I paid for shipping, sent it off, and 8 days later I got the new Plastic Thru Hull Transducer. I passed it though the scupper, bolted it down, drilled a hole on the back wall of the sonar space just big enough to send the wires through, and installed the unit.

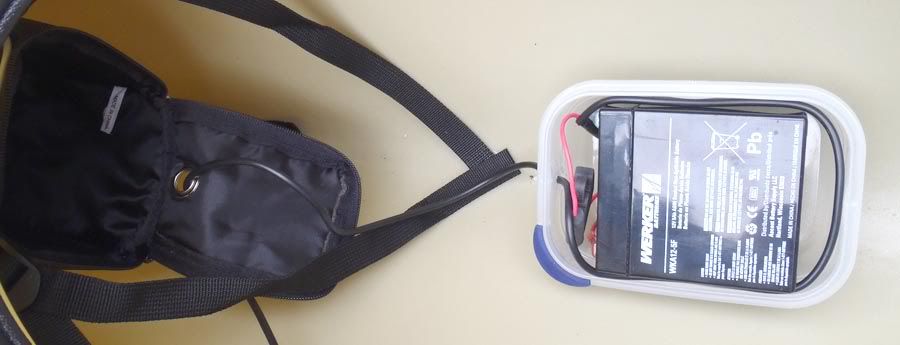
Next I went looking for a battery box. While browsing through Walmart I came across the food storage section and found Sterilite air tight/water tight containers that would fit my battery just right. Only thing is, it was only available in a big set with a bunch of other sizes. But I figured for $19.97 (compared to $30 for one OtterBox) I could use the other ones for Gulp! containers. Anyone who has had a leaky Gulp container knows, the words stinky and foul just don't cut it; especially in the heat of summer, in a small hatch back like I drive. Barf. Also, the containers work great for dry storage (ie: extra batteries, wallet, keys, phone, etc.). And for me it was time to replace the old containers in the kitchen that I got with sandwich meat. Anyway, I digress, back to the battery box... I drilled a hole, passed the wire, sealed it with Goop, wired a fuse, hooked up the female wire attachments, put the top on, slid it in the Trident's suspending battery bag and shizam, there you have it.
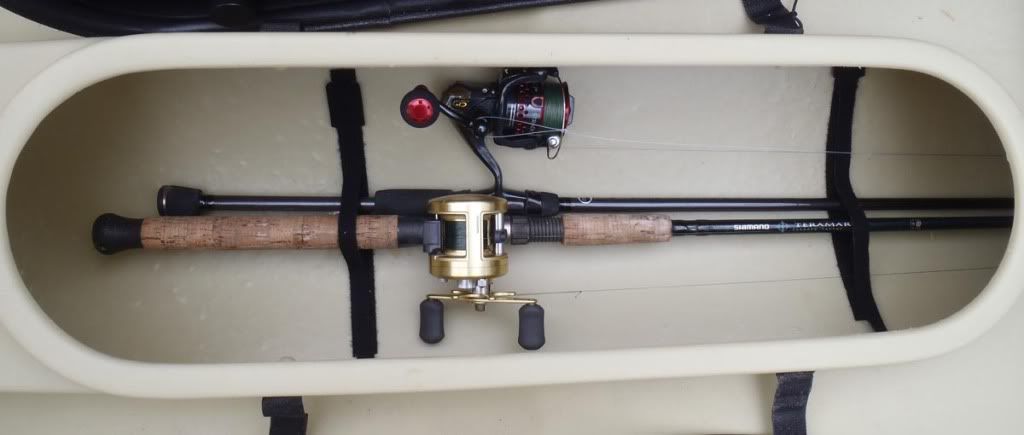
I also put strips of adhesive backed velcro in the rod pod
so I can keep my rods in place and not tumbling around.
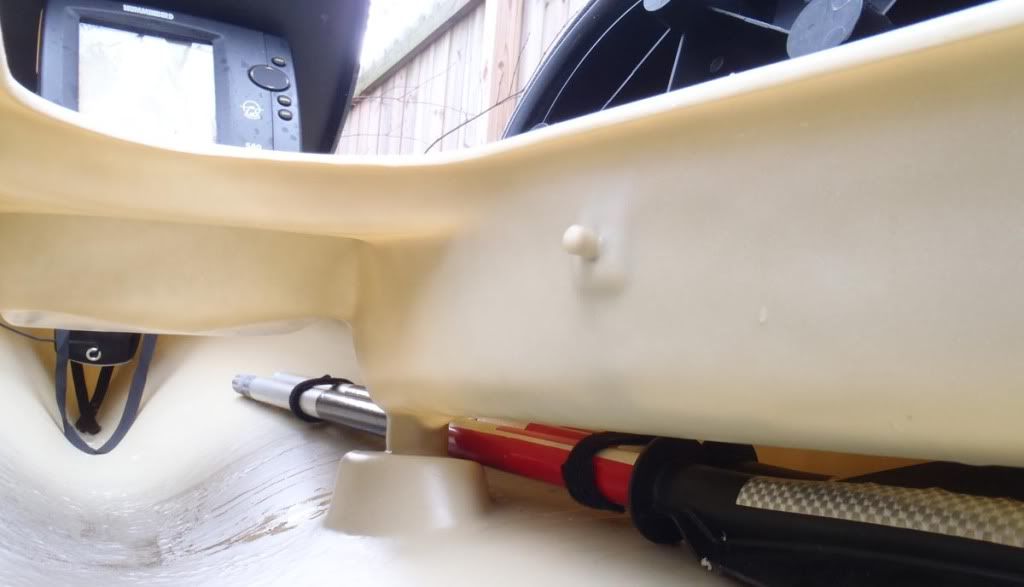
I used velcro strips to keep my extra paddle together and wedged it in between the side hull and the scupper hole.
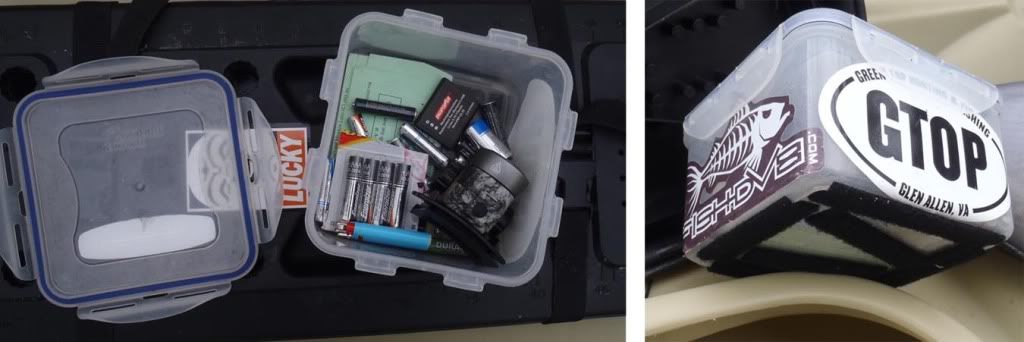
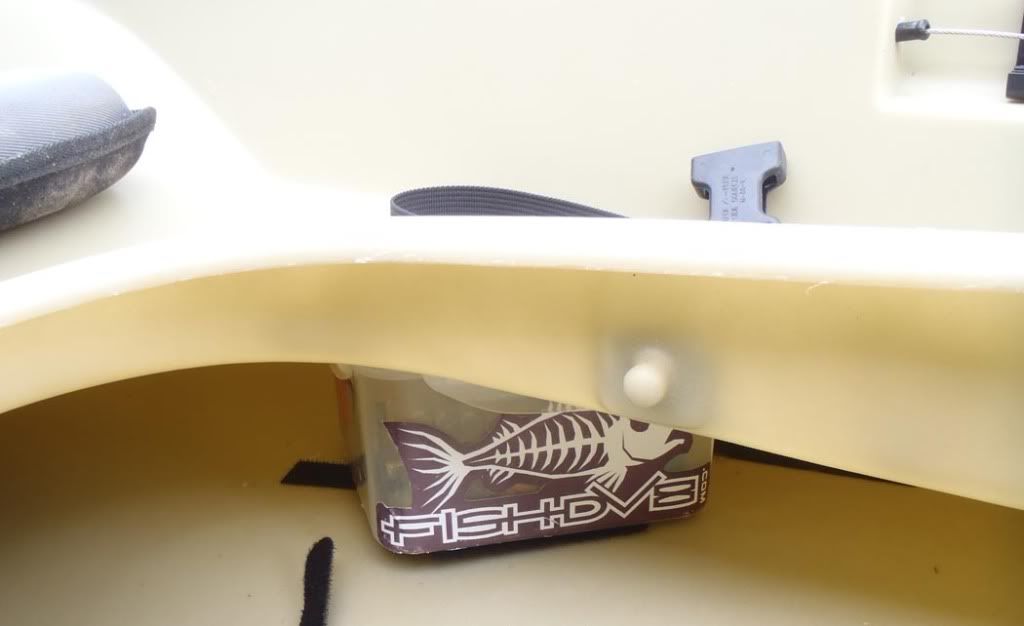
And finally I used adhesive backed vecro to keep my dry box in place off to the side, in the hull,
not taking up top side space.
Saturday, March 5, 2011
Still Waiting and an Interview Podcast
 The last time I went out fishing I caught a striper with a Diamond Jim tag in it. I've called several times and left a few messages. I'm starting to get the feeling that their office is closed for the winter. Anyway, my fingers are still crossed. I'll post up about it when I hear back from them.
  For those of you that emailed me in anticipation of my upcoming post on how to rig a new Ocean Kayak Trident 13, I'm sorry I haven't been able to post that yet. I've been busy acquiring the right parts and I've also been out of town for work (thus the lack of fishing reports as well). If you're looking for a good fishing report check out this post from Justin. I can't wait to get back out on the water!
 Lastly, I've been listening every Friday to a podcast called Stuck On Fishing. The interviewer, Chris Story, has had renown fishing personalities JetSki Brian, Don Lancaster, and Kayak Kevin on the show so far and it's been very interesting to listen to. Well he called me up and asked if he could interview me as well. I was kind of surprised that he would consider me interview worthy and to think that I would join the list of those I mentioned before was very humbling. So I met up with him at the Bass Pro Shop in Hampton, found a semi-quiet corner in the massive store, which happened to be on a big boat on display, and talked about fishing.
 Here's the link to his page. Check it out!
Subscribe to:
Posts (Atom)

